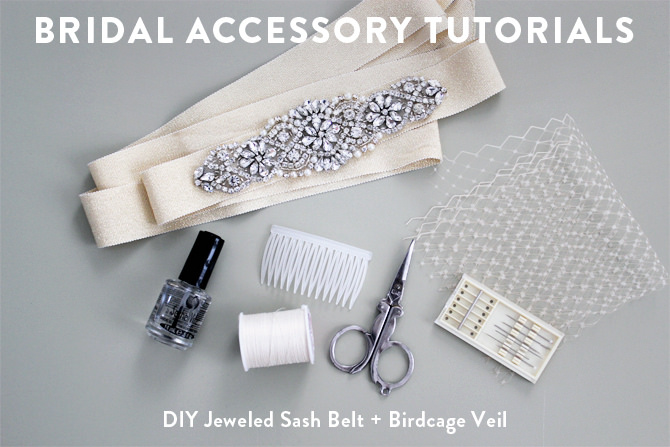
‘Tis the season for doing DIY projects at home! It took me a little while but per your requests, here’s a tutorial for the DIY blusher birdcage veil and embellished sash belt I wore on our wedding day. You can also make thinner versions of the sash belt with smaller pieces of appliqué to dress up bridesmaid looks. For those not in wedding mode, perhaps try your hand at one of my tutorials for a holiday tulle skirt, a regular A-line skirt, or a foldover clutch using festive materials!
I made my own bridal accessories in order to get exactly what I needed (my gown was a slightly hard-to-match champagne color), and ended up saving quite a bit in doing so. The belt is so easy it doesn’t even warrant a tutorial! The veil will require a little patience, but I still think it’s suitable for beginners with little to no sewing experience. I considered a variety of veils and went with birdcage for the vintage-inspired look, and also because the simplicity balanced out the volume of my gown.
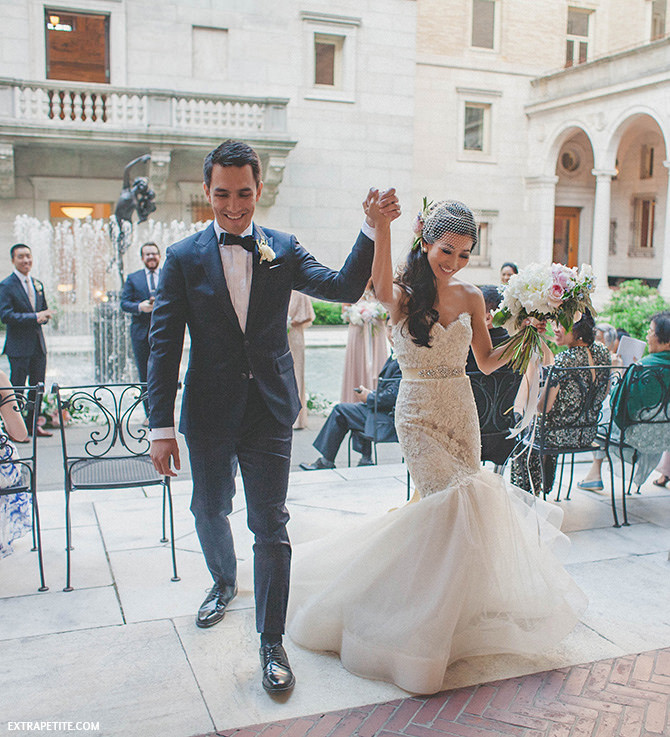
I also re-wore both of these accessories with my reception look:

I’ve listed where I got all of my materials at the bottom of this post, but you should be able to find similar at any of your local fabric or craft stores.
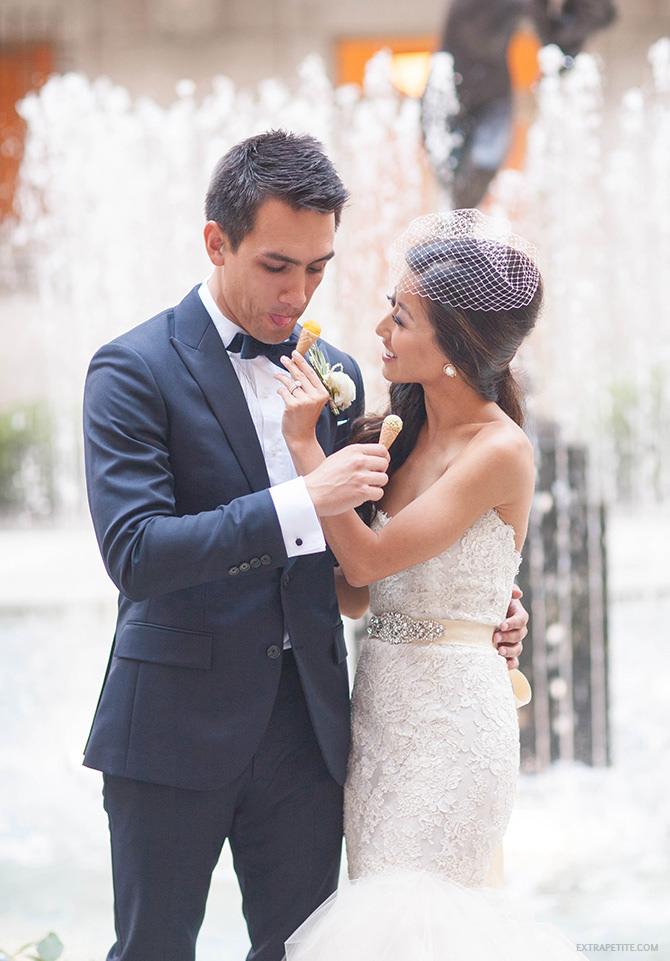
And of course the only clear closeup photo I found of both accessories is this goofy shot with our mini ice cream cones : )
Belt Supplies:
– Ribbon or material of your choice for the sash. I used a 1.5″ wide grosgrain ribbon cut to about 100″ long (I liked long tails for draping over the back of my dress)
– A piece of embellished appliqué. Lots to choose from if you search online! Mine is a 7″ long iron-on one from The Bright Shop – the exact one is no longer available, but she mentioned a super similar one will be in stock when her shop re-opens in early January. You can go for a longer appliqué to cover more of your waistline (I wanted to do this but ran out of time to order more appliqué), or arrange together several smaller pieces.
– Clear nail polish
– Iron & ironing board, and/or needle & thread
Veil Supplies:
– A small haircomb – these come in either plastic or wire
– 1 yard of Russian veil netting. I got 1 yard of the 9″ wide champagne color from Benoir’s Closet to match my gown. She also sells white, ivory, and several other colors.
– Needle & thread
There are actually several places on Etsy or eBay to order an inexpensive birdcage / blusher veil already made – however, I bought one and it arrived in the mail so misshapen that I couldn’t revive it despite my best steaming and ironing efforts. Making one ensured that the poof would be nicely shaped, plus you can use wider or narrower netting if you want to customize more or less coverage on your face.
I had my florist create a floral comb with fresh flowers (here’s my simplified tutorial) which I layered on top of my birdcage veil comb. This helped conceal any rough edges from my DIY work, and also dressed the piece up more. Please feel free to share this with any friends getting married, and please let me know if you end up trying it yourself!
For previous wedding-related posts: You can read about Nick’s proposal, our engagement photos in Paris, garden party bridal shower, Chinese marriage tea ceremony, and our wedding day!